Enhance your business communication by automating WhatsApp messages with Node.js and Wassenger API. This powerful integration allows you to send reminders, updates, and promotional content effortlessly, saving time and ensuring consistent customer engagement. Follow our guide to set up and utilize this efficient solution, boosting your marketing efforts and productivity. Get started now and take your messaging to the next level!
🫣 Don’t want to use programming? No problem! Explore our new no-code WhatsApp Campaigns feature. Import your contacts, define a message, set a delivery date and relax! 🥳 🥳

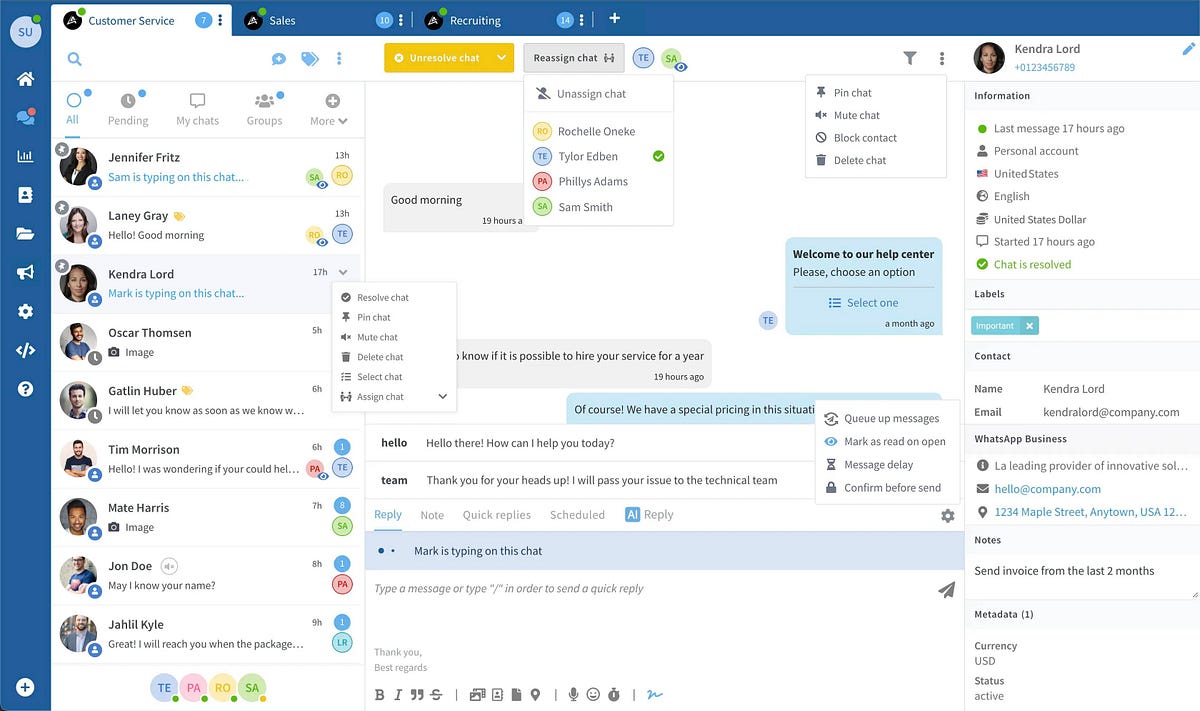
🤩 🤖 Wassenger is a complete communication platform and API solution for WhatsApp. Explore more than 100+ API use cases and automate anything on WhatsApp by signing up for a free trial and getting started in minutes!
Requirements
- To have a WhatsApp number already linked to the platform and online.
- Message recipient phone number with international prefix in E164 format. Example:
+12345678900. Validate the phone number format here.
API endpoint
We will use the following API endpoint to send messages to a group:
Prepare the request
Target API URL using the POST method
https://api.wassenger.com/v1/messages
Required HTTPS headers > Obtain your API key here
Content-Type: application/json
Token: $API_TOKEN
Use body in JSON format
{
  "phone": "+1234567890",
  "message": "Hello world, this is a sample message"
}
🖥️ Looking for a code example? Go to the API live tester and get ready-to-use code examples in 15+ programming languages, including Python, JavaScript, PHP, C#, Java, Ruby, Go, Powershell, cURL and more.
🤩 🤖 Wassenger is a complete API solution for WhatsApp. Sign up for a 7-day free trial and get started in minutes!
Send automated messages with Node (fetch)
- Setup: The
url,apiKey,phone, andmessagevariables are defined for easy modification. - Payload: The payload is created as a JavaScript object and then stringified using
JSON.stringify. - Options: The options for the
fetchrequest include method, headers, and body. - Fetch Call: The
fetchthe call is made with the URL and options. The response is checked for success, and the JSON response is logged to the console. - Error Handling: Errors are caught and logged to the console.
// Examples requires you to have installed node-fetch Node.js package.
// Install it by running: npm install --save node-fetch or yarn add node-fetch
const fetch = require('node-fetch');
const url = 'https://api.wassenger.com/v1/messages';
const apiKey = 'YOUR_ACTUAL_API_KEY';
const phone = '+1234567890';
const message = 'Hello world, this is a sample message';
const payload = {
  phone: phone,
  message: message
};
const options = {
  method: 'POST',
  headers: {
    'Content-Type': 'application/json',
    Token: apiKey
  },
  body: JSON.stringify(payload)
};
fetch(url, options)
  .then(res => {
    if (!res.ok) {
      throw new Error(`HTTP error! status: ${res.status}`);
    }
    return res.json();
  })
  .then(json => {
    console.log('Message sent successfully.');
    console.log('Response:', json);
  })
  .catch(err => {
    console.error('Error:', err.message);
  });
🤩 🤖 Wassenger is a complete API solution for WhatsApp. Sign up for a 7-day free trial and get started in minutes!
Send automated messages with Node (Axios)
- Setup: The
url,apiKey,phone, andmessagevariables are defined for easy modification. - Options: The options for the
axiosrequest include method, URL, headers, and data (the payload). - Axios Request: The
axios.requestmethod is called with the options. The response is logged to the console on success. - Error Handling: Errors are caught and logged to the console, with differentiation between response errors, request errors, and setup errors.
// Ensure you have installed axios package
// npm install axios or yarn add axios
const axios = require('axios');
const url = 'https://api.wassenger.com/v1/messages';
const apiKey = 'YOUR_ACTUAL_API_KEY';
const phone = '+1234567890';
const message = 'Hello world, this is a sample message';
const options = {
  method: 'POST',
  url: url,
  headers: {
    'Content-Type': 'application/json',
    Token: apiKey
  },
  data: {
    phone: phone,
    message: message
  }
};
axios
  .request(options)
  .then(function (response) {
    console.log('Message sent successfully.');
    console.log('Response:', response.data);
  })
  .catch(function (error) {
    if (error.response) {
      console.error('Error:', error.response.data);
    } else if (error.request) {
      console.error('No response received:', error.request);
    } else {
      console.error('Error setting up request:', error.message);
    }
  });
Send automated messages with Node (Unirest)
- Setup: The
url,apiKey,phone, andmessagevariables are defined for easy modification. - Headers: Headers for
Content-TypeandTokenare added to the request. - Payload: The request body is set to a JSON object with the phone number and message.
- End Callback: The
endmethod is used to send the request, and a callback function handles the response. Errors are logged if they occur, and the response body is printed to the console on success.
// Examples requires you to have installed unirest Node.js package.
// Install it by running: npm install --save unirest or yarn add unirest
const unirest = require('unirest');
const url = 'https://api.wassenger.com/v1/messages';
const apiKey = 'YOUR_ACTUAL_API_KEY';
const phone = '+1234567890';
const message = 'Hello world, this is a sample message';
const req = unirest('POST', url);
req.headers({
  'Content-Type': 'application/json',
  Token: apiKey
});
req.type('json');
req.send({
  phone: phone,
  message: message
});
req.end(function (res) {
  if (res.error) {
    console.error('Error:', res.error);
    return;
  }
  console.log('Message sent successfully.');
  console.log('Response:', res.body);
});
🤩 🤖 Wassenger is a complete API solution for WhatsApp. Sign up for a 7-day free trial and get started in minutes!
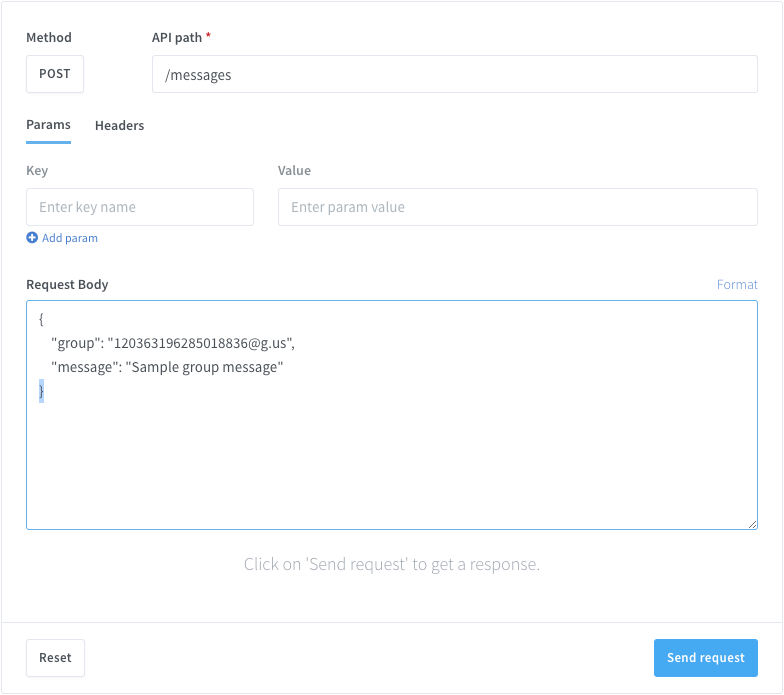
Live API testing
You can live-test and play with the API directly from your browser.
Once you are done testing, get the auto-generated code example in your preferred programming language and you will be ready to go.
FAQ
How to send messages to multiple phone numbers
You just have to send multiple API requests, one per target phone number.
For instance, if you want to send a message to 10 phone numbers, you should send 10 independent HTTPS requests to the API.
There is no option to send multiple messages in a single API request.
How to validate if a phone number can receive WhatsApp messages
You can validate if a given phone number is linked to a WhatsApp account and can receive messages.
The API provides an endpoint that can validate whether a given phone number exists in WhatsApp or not.
The only requirement is to have at least one WhatsApp number connected to the platform in your current account.
For more details, please check out the API endpoint documentation here.
Before you check if a phone number exists on WhatsApp, you can also validate and normalize the format of a list of phone numbers by using the numbers validator API endpoint. This endpoint only validates the correct E164 format, but it does not check whether the phone number effectively exists on WhatsApp.
Note: The number of WhatsApp check validations is limited per month based on your subscription plan. Please check out the pricing table for more details about the limits.
Looking for more answers? Check out the extended FAQs.
Further useful resources
API Documentation
For more details about the endpoint API, please check the documentation where you will find all the details about the accepted request params, possible success or error responses and ready-to-use code examples in multiple programming languages:
https://app.wassenger.com/docs/#tag/Messages/operation/createMessage