Have you ever wished to send personalized WhatsApp messages automatically? Imagine addressing each customer by name, sharing their order status, or adding custom details, all without typing manually! 🤯 Wassenger API makes this dream come true with template variables. Let’s dive into how you can integrate them into your messages seamlessly! 🚀

1. What Are Template Variables? 🤔
Template variables let you insert dynamic content into your WhatsApp messages. Think of placeholders that get replaced with real data when the message is sent. For example:
Dear {{ contact.name | customer }}, your order {{ metadata.order_id }} is out for delivery!
This will automatically greet the customer by name and include their order details. Get more information here about how to use WhatsApp templates
You can use the template variable syntax to display dynamic information in your messages based on a set of pre-defined variables linked to the current user sending the message, or the target chat, contact, metadata and date.
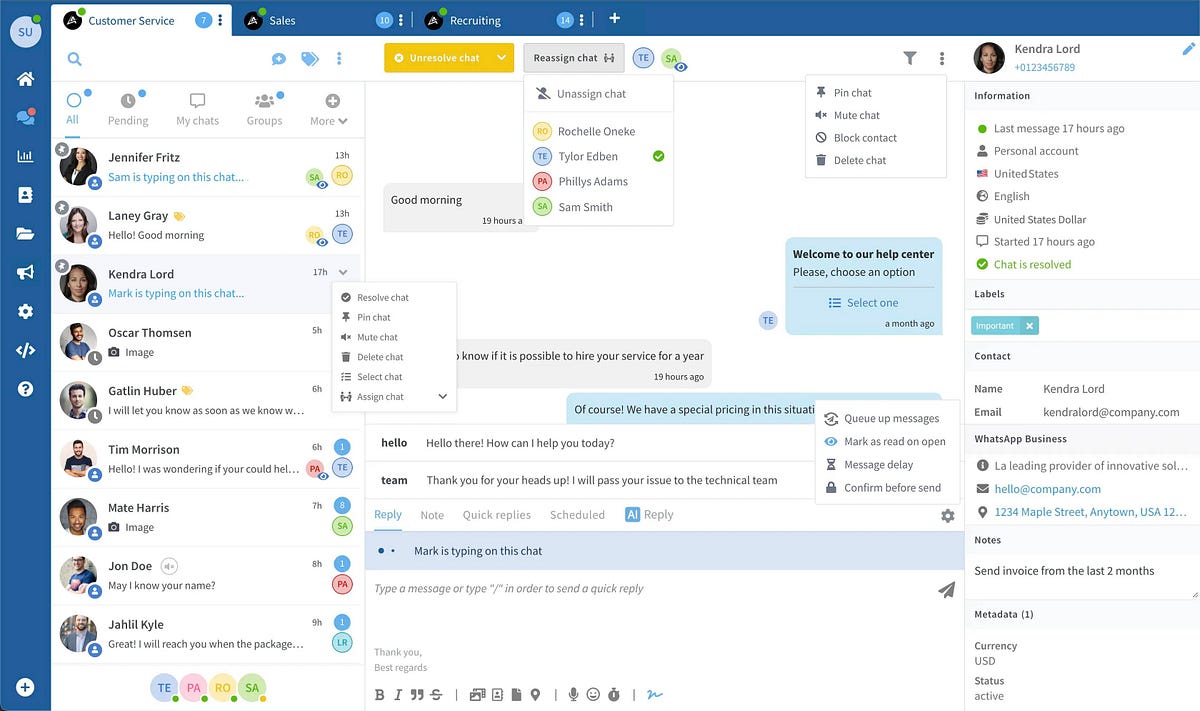
Template variables can be used in quick replies, automatic replies and messages sent through the API or web chat.
You can display dynamic information in messages based on the following entities:
whatsapp: connected WhatsApp number sending the messageuser: current user sending the messagechat: target chat that will receive the messagecontact: target contact that will receive the messagedate: the current date when the message is deliveredmetadata: target contact metatada accessible bykey, e.g:{{ metadata.crm_id }}
👉 👉 Learn more about all supported template variables here
Example message using template variables:
Dear {{ contact.name }},
We will be in touch shortly with more information.
Your query has been registered on {{ date.humanize.full }}.
Your support agent is {{ chat.agent.name }}.
Thank you!
🔗 Start automating now! 🚀 Sign up for Wassenger at Wassenger and personalize your WhatsApp messages with dynamic templates in multiple languages! 🌱
2. Getting Started with Template Variables 🔧
- Step 1: Get your API key here.
- Step 2: Install your preferred tool like Node.js, Python, PHP, Java, C# (RestClient & HttpClient), Go, or Powershell.
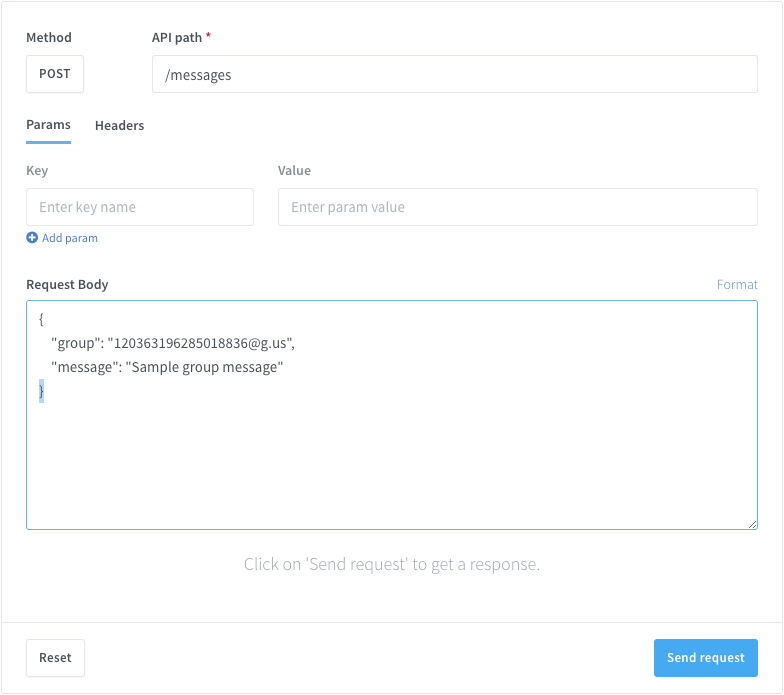
- Step 3: Use the API URL:
https://api.wassenger.com/v1/messages
3. JSON Payloads 📦
{
  "phone": "+1234567890",
  "message": "Dear {{ contact.name }}, your order {{ order }} is out for delivery!"
}
4. Code Samples in Multiple Languages 💻
C# (RestClient)
var client = new RestClient("https://api.wassenger.com/v1/messages");
var request = new RestRequest(Method.POST);
request.AddHeader("Token", "YOUR_API_KEY");
request.AddJsonBody(new { phone = "+1234567890", message = "Hello {{ contact.name }}!" });
var response = client.Execute(request);
Console.WriteLine(response.Content);
C# (HttpClient)
HttpClient client = new HttpClient();
var content = new StringContent("{ \"phone\": \"+1234567890\", \"message\": \"Hello {{ contact.name }}!\" }", Encoding.UTF8, "application/json");
client.DefaultRequestHeaders.Add("Token", "YOUR_API_KEY");
var response = await client.PostAsync("https://api.wassenger.com/v1/messages", content);
Console.WriteLine(await response.Content.ReadAsStringAsync());
Don’t wait! Boost your customer interactions with automated WhatsApp messages now! Sign up at Wassenger and experience seamless integration!
Get more information here about how to use WhatsApp templates 🚀
Java
HttpURLConnection conn =(HttpURLConnection) new URL("https://api.wassenger.com/v1/messages").openConnection();
conn.setRequestMethod("POST");
conn.setRequestProperty("Token", "YOUR_API_KEY");
conn.setDoOutput(true);
String jsonInput = "{\"phone\":\"+1234567890\", \"message\":\"Hello {{ contact.name }}!\"}";
try(OutputStream os = conn.getOutputStream()) { os.write(jsonInput.getBytes()); os.flush(); }
PHP (HTTP2)
$ch = curl_init("https://api.wassenger.com/v1/messages");
curl_setopt($ch, CURLOPT_HTTPHEADER, ['Token: YOUR_API_KEY', 'Content-Type: application/json']);
curl_setopt($ch, CURLOPT_POSTFIELDS, json_encode(["phone" => "+1234567890", "message" => "Hello {{ contact.name }}!"]));
curl_exec($ch);
curl_close($ch);
Node.js (Axios)
const axios = require('axios');
axios.post('https://api.wassenger.com/v1/messages', {
phone: '+1234567890',
message: 'Hello {{ contact.name }}!'
}, { headers: { 'Token': 'YOUR_API_KEY' } });
Python
import requests
requests.post('https://api.wassenger.com/v1/messages', json={"phone": "+1234567890", "message": "Hello {{ contact.name }}!"}, headers={'Token': 'YOUR_API_KEY'})
Go
package main
import("bytes", "net/http", "fmt")
jsonStr:= []byte(`{"phone": "+1234567890", "message": "Hello {{ contact.name }}!"}`)
req, _:= http.NewRequest("POST", "https://api.wassenger.com/v1/messages", bytes.NewBuffer(jsonStr))
req.Header.Set("Token", "YOUR_API_KEY")
client:= &http.Client{}
resp, _:= client.Do(req)
fmt.Println(resp.Status)
Powershell
$headers = @{ 'Token' = 'YOUR_API_KEY'; 'Content-Type' = 'application/json' }
$body = @{ phone = '+1234567890'; message = 'Hello {{ contact.name }}!' } | ConvertTo-Json
Invoke-RestMethod -Uri 'https://api.wassenger.com/v1/messages' -Method Post -Headers $headers -Body $body
Live API testing
You can live-test and play with the API directly from your browser.
Once you are done testing, get the auto-generated code example in your preferred programming language and you will be ready to go.
🔗 Get started today! Explore Wassenger here for more automation tools and guides. 🚀