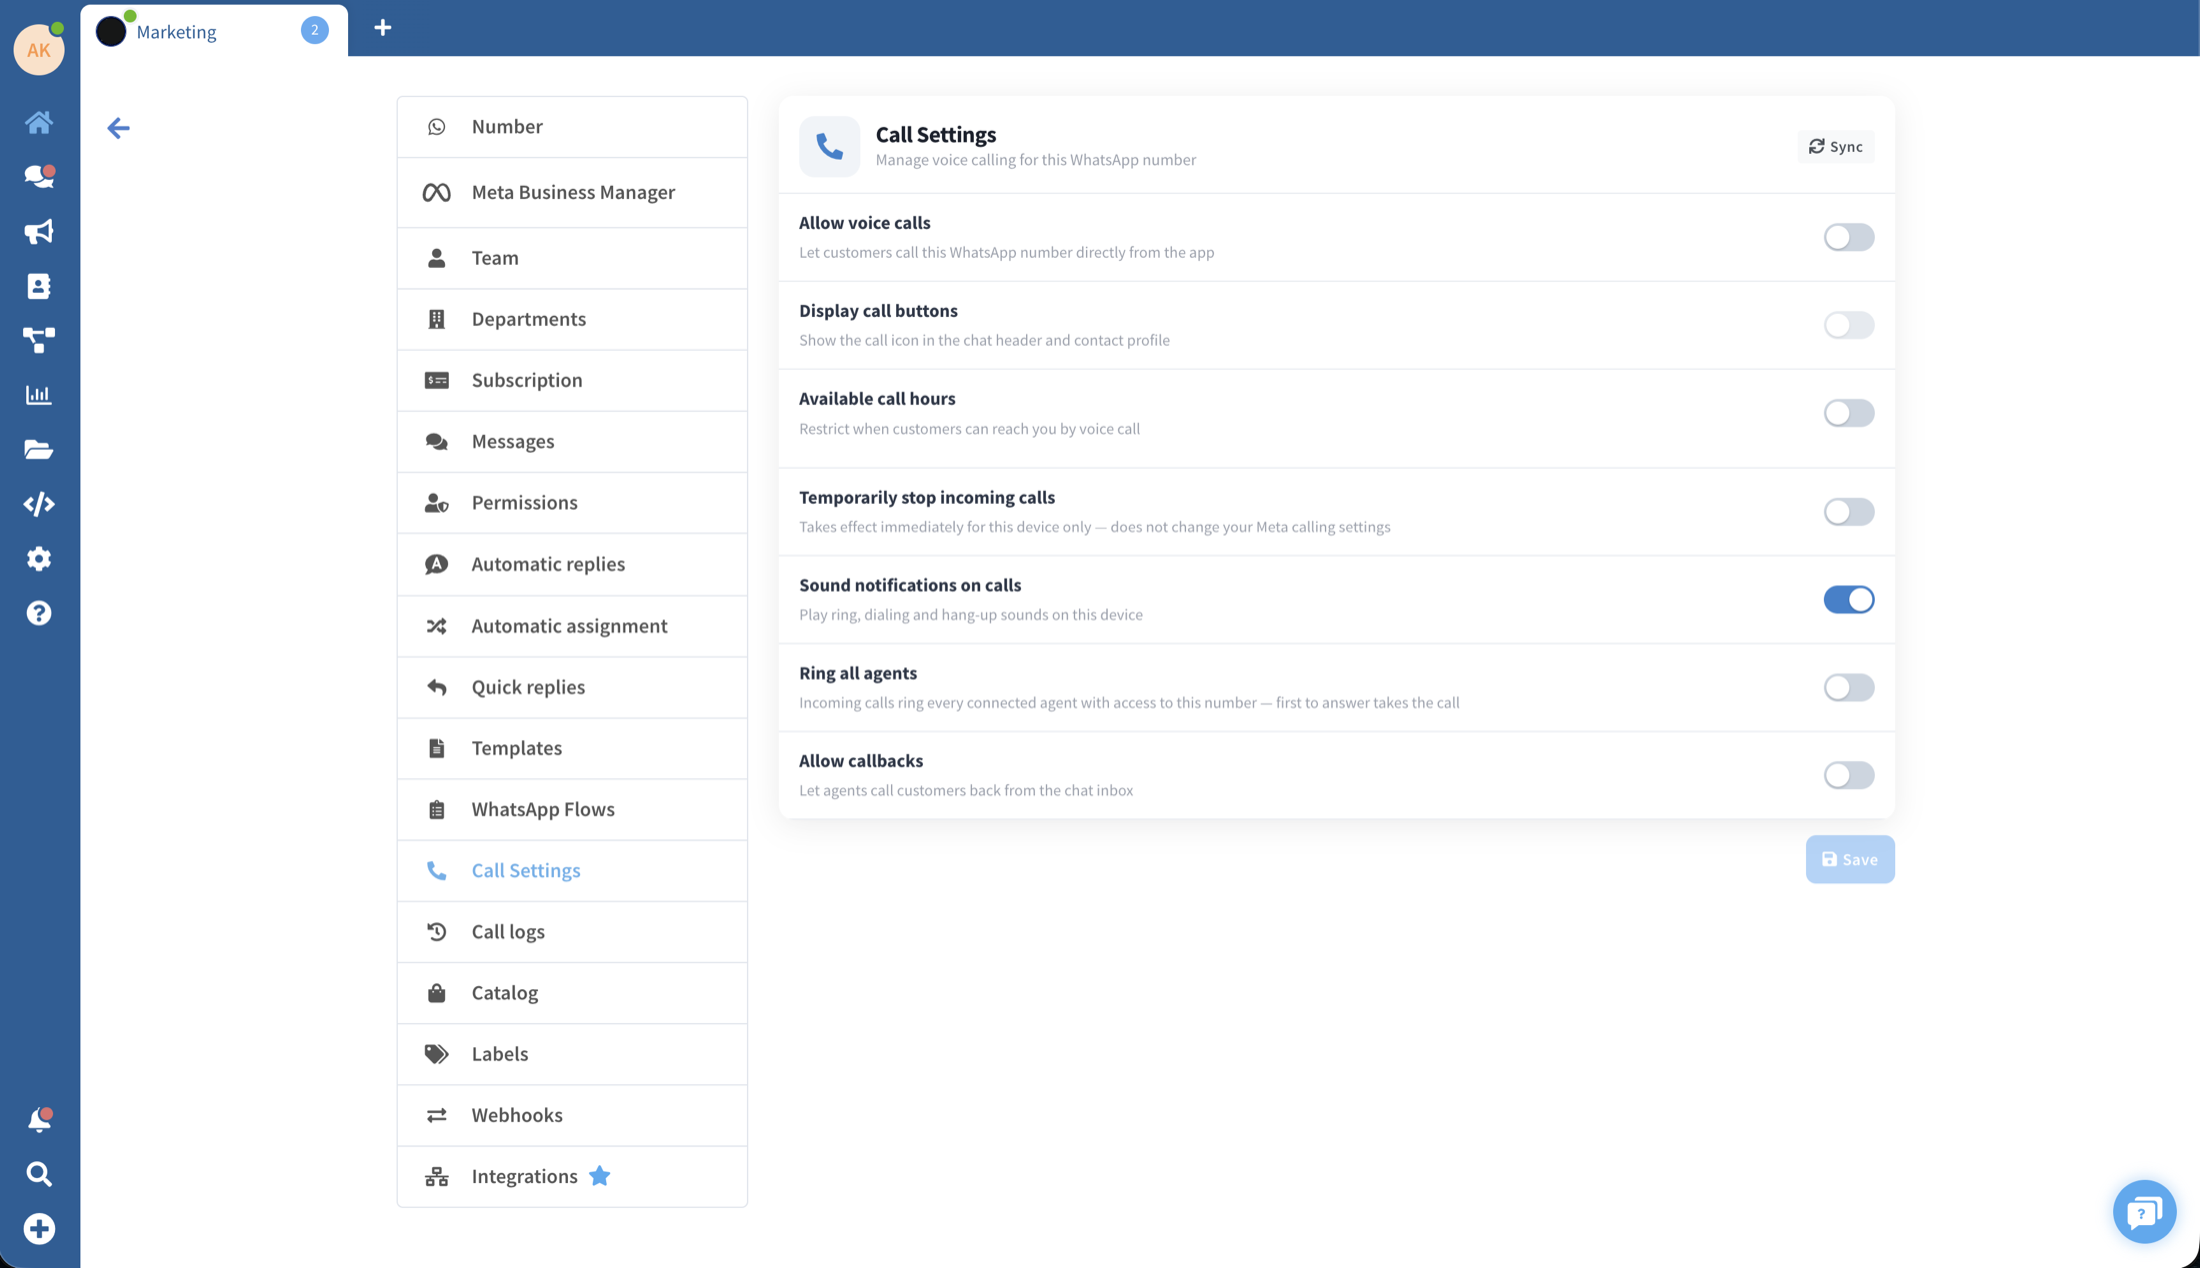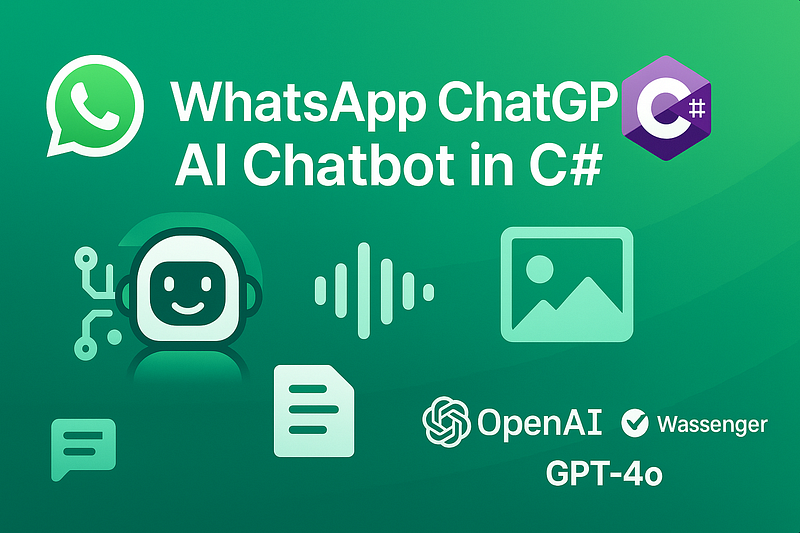
A general-purpose, customizable WhatsApp AI Chatbot in C# 🔷 that can understand text 📝, audio 🎵 and images 🖼️, and reply to your clients 💬 about anything related to your business 🏢 directly on WhatsApp ✅. Powered by OpenAI GPT4o 🚀 (other models can be used too) and Wassenger WhatsApp API 🔗.
Now supports GPT-4o with text + audio + image input 📝🎵🖼️, audio responses 🔊, and improved RAG + MCP with function calling 🛠️ and external API calls support 🌐
Find other AI Chatbot implementations in Python, Node.js and PHP
🚀 Get started for free with Wassenger WhatsApp API in minutes by connecting your existing WhatsApp number and obtain your API key ✨
Features
- 🤖 Fully featured chatbot for your WhatsApp number connected to Wassenger
- 💬 Automatic replies to incoming messages from users
- 🌍 Multi-language support — understands and replies in 90+ different languages
- 🎤 Audio input/output — transcription and text-to-speech capabilities
- 🖼️ Image processing — can analyze and understand images
- 👥 Human handoff — allows users to request human assistance
- ⚙️ Customizable AI behavior and instructions
- 🔧 Function calling capabilities for external data integration
- 📊 Memory management with conversation history and rate limiting
- 🚦 Smart routing with webhook handling and error management
- 🔒 Secure with proper error handling and logging
- 🔄 Modern C# with .NET 9, dependency injection, and async/await patterns
Contents
- Features
- Quick Start
- Requirements
- Configuration
- API Keys Setup
- Bot Customization
- Usage
- Local Development
- Production Deployment
- Deployment
- Docker
- Render
- Heroku
- Railway
- Fly.io
- Azure App Service
- Architecture
- Testing
- Development
Quick Start
- Clone the repository:
git clone https://github.com/wassengerhq/whatsapp-chatgpt-bot-csharp.git cd whatsapp-chatgpt-bot-csharp
- Install .NET 8 SDK:
- Download from: https://dotnet.microsoft.com/download/dotnet/8.0
- Verify installation:
dotnet --version - Configure environment:
cp.env.example.env # Edit.env file with your API keys(see Configuration section)
- Run the bot (local development mode):
cd src/WhatsAppChatBot dotnet run
Requirements
- .NET 9.0 SDK or later
- WhatsApp Personal or Business number
- Wassenger API key — Sign up for free
- OpenAI API key — Sign up for free
- Ngrok account (for local development) — Sign up for free
Configuration
Edit the .env file with your API credentials:
# Required: Wassenger API key
API_KEY=your_wassenger_api_key_here
# Required: OpenAI API key
OPENAI_API_KEY=your_openai_api_key_here
# OpenAI model to use(gpt-4o, gpt-4, gpt-3.5-turbo)
OPENAI_MODEL=gpt-4o
# Required for local development: Ngrok auth token
NGROK_TOKEN=your_ngrok_token_here
# Optional: Specific WhatsApp device ID
DEVICE=
# Optional: Webhook URL for production deployment
WEBHOOK_URL=https://yourdomain.com/webhook
# Server configuration
PORT=8080
LOG_LEVEL=Information
# Development mode(auto-initializes services)
DEV=true
API Keys Setup
Wassenger API Key:
- Sign up at Wassenger (free trial available)
- Go to API Keys
- Create a new API key and copy it to
API_KEYin.env
OpenAI API Key:
- Sign up at OpenAI (free credits available)
- Go to API Keys
- Create a new API key and copy it to
OPENAI_API_KEYin.env
Ngrok Token (for local development):
- Sign up at Ngrok (free)
- Get your auth token from the dashboard
- Copy it to
NGROK_TOKENin.env
Bot Customization
Edit src/WhatsAppChatBot/Config/BotConfig.cs to customize:
- Bot instructions and personality
- Welcome and help messages
- Supported features (audio, images, etc.)
- Rate limits and quotas
- Whitelisted/blacklisted numbers
- Labels and metadata settings
Usage
Local Development
Start the development server:
cd src/WhatsAppChatBot dotnet run
The bot will:
- Start a local HTTP server on port 8080
- Optionally create an Ngrok tunnel automatically
- Register the webhook with Wassenger
- Begin processing WhatsApp messages
Send a message to your WhatsApp number connected to Wassenger to test the bot.
Production Deployment
Set environment variables on your server:
export WEBHOOK_URL=https://yourdomain.com/webhook
export API_KEY=your_wassenger_api_key
export OPENAI_API_KEY=your_openai_api_key
export PRODUCTION=true
Build and run:
dotnet build -c Release dotnet run - configuration Release
Make sure your server can receive POST requests at /webhook
Deployment
You can deploy this bot to any cloud platform that supports .NET 8.
Docker Deployment
# Build the Docker image
docker build -t whatsapp-chatbot.
# Run the container
docker run -d \
--name whatsapp-chatbot \
-p 8080:8080 \
-e API_KEY=your_wassenger_api_key \
-e OPENAI_API_KEY=your_openai_api_key \
-e WEBHOOK_URL=https://yourdomain.com/webhook \
-e PRODUCTION=true \
whatsapp-chatbot
Render
# Create render.yaml for automated deployment
cat > render.yaml << EOF
services:
- type: web
name: whatsapp-chatbot
env: docker
dockerfilePath:./Dockerfile
envVars:
- key: API_KEY
value: your_wassenger_api_key
- key: OPENAI_API_KEY
value: your_openai_api_key
- key: PRODUCTION
value: true
- key: PORT
value: 8080
EOF
# Connect your GitHub repo to Render and deploy automatically
# Or deploy manually:
# 1.Push to GitHub
# 2.Connect repo in Render dashboard
# 3.Set environment variables in Render UI
Heroku
# Login and create app
heroku login
heroku create your-whatsapp-bot
# Set environment variables
heroku config:set API_KEY=your_wassenger_api_key
heroku config:set OPENAI_API_KEY=your_openai_api_key
heroku config:set PRODUCTION=true
# Create heroku.yml for container deployment
cat > heroku.yml << EOF
build:
docker:
web: Dockerfile
run:
web: dotnet run --configuration Release
EOF
# Set stack to container
heroku stack:set container
# Deploy
git add.
git commit -m "Deploy to Heroku"
git push heroku main
Railway
# Install Railway CLI
npm install -g @railway/cli
# Login and deploy
railway login
railway new
# Deploy with environment variables
railway add --name API_KEY --value your_wassenger_api_key
railway add --name OPENAI_API_KEY --value your_openai_api_key
railway add --name PRODUCTION --value true
# Deploy from current directory
railway up
Fly.io
# Install flyctl
curl -L https://fly.io/install.sh | sh
# Initialize and configure
flyctl auth login
flyctl launch --name whatsapp-chatbot
# Create fly.toml configuration
cat > fly.toml << EOF
app = "whatsapp-chatbot"
primary_region = "iad"
[build]
dockerfile = "Dockerfile"
[env]
PRODUCTION = "true"
PORT = "8080"
[[services]]
http_checks = []
internal_port = 8080
processes = ["app"]
protocol = "tcp"
script_checks = []
[[services.ports]]
force_https = true
handlers = ["http"]
port = 80
[[services.ports]]
handlers = ["tls", "http"]
port = 443
EOF
# Set secrets
flyctl secrets set API_KEY=your_wassenger_api_key
flyctl secrets set OPENAI_API_KEY=your_openai_api_key
# Deploy
flyctl deploy
Azure App Service
# Create resource group
az group create --name rg-whatsapp-bot --location "East US"
# Create App Service plan
az appservice plan create --name asp-whatsapp-bot --resource-group rg-whatsapp-bot --sku B1 --is-linux
# Create web app
az webapp create --resource-group rg-whatsapp-bot --plan asp-whatsapp-bot --name your-app-name --runtime "DOTNETCORE:8.0"
# Configure app settings
az webapp config appsettings set --resource-group rg-whatsapp-bot --name your-app-name --settings \
API_KEY=your_wassenger_api_key \
OPENAI_API_KEY=your_openai_api_key \
PRODUCTION=true
# Deploy
dotnet publish -c Release
cd src/WhatsAppChatBot/bin/Release/net9.0/publish
zip -r../../../../../deploy.zip.
az webapp deployment source config-zip --resource-group rg-whatsapp-bot --name your-app-name --src deploy.zip
Architecture
The C# implementation follows modern .NET patterns and clean architecture:
src/
├── WhatsAppChatBot/
│ ├── Api/ # API clients
│ │ ├── OpenAIClient.cs # OpenAI API integration
│ │ └── WassengerClient.cs # Wassenger API integration
│ ├── Bot/ # Core bot logic
│ │ ├── ChatBot.cs # Main bot processing
│ │ └── FunctionHandler.cs # Function calling system
│ ├── Config/ # Configuration management
│ │ └── BotConfig.cs # Centralized configuration
│ ├── Controllers/ # HTTP layer
│ │ └── WebhookController.cs # API endpoints and webhook handling
│ ├── Models/ # Data models
│ │ ├── OpenAIModels.cs # OpenAI API models
│ │ ├── WassengerModels.cs # Wassenger API models
│ │ └── WebhookModels.cs # Webhook and general models
│ ├── Services/ # Business services
│ │ ├── MemoryStore.cs # In-memory caching and state
│ │ └── NgrokTunnel.cs # Development tunnel management
│ ├── Program.cs # Application entry point
│ ├── appsettings.json # Application configuration
│ └── WhatsAppChatBot.csproj # Project file
├──.env.example # Environment template
├── Dockerfile # Docker configuration
└── README.md
Testing
The project includes built-in health checks and validation:
API Connection Test
# Test the API endpoints
curl http://localhost:8080/
Webhook Test
# Simulate a webhook request
curl -X POST http://localhost:8080/webhook \
-H "Content-Type: application/json" \
-d '{
"event": "message:in:new",
"data": {
"chat": {"id": "test", "fromNumber": "123", "type": "chat"},
"fromNumber": "123",
"body": "Hello"
}
}'
Send Message Test
curl -X POST http://localhost:8080/message \
-H "Content-Type: application/json" \
-d '{
"phone": "1234567890",
"message": "Test message",
"device": "your-device-id"
}'
Development
Project Structure
The solution follows clean architecture principles:
- Controllers: Handle HTTP requests and responses
- Services: Business logic and external service integration
- Models: Data transfer objects and domain models
- Configuration: Centralized configuration management
- Dependency Injection: Built-in .NET DI container
Key Classes
ChatBot- Main bot processing logic with message filtering and routingOpenAIClient- OpenAI API integration with chat, audio, and image supportWassengerClient- Wassenger API integration for WhatsApp messagingFunctionHandler- AI function calling system for external integrationsWebhookController- HTTP request routing and webhook handlingBotConfig- Centralized configuration management with environment variablesMemoryStore- In-memory caching and conversation state managementNgrokTunnel- Development tunneling for local testing
Running in Development
# Run with hot reload
dotnet watch run
# Run with specific environment
dotnet run --environment Development
# Run tests(if you add them)
dotnet test
Adding NuGet Packages
dotnet add package PackageName
Customization
Bot Instructions
Edit the AI behaviour in Config/BotConfig.cs:
private const string DefaultBotInstructions =
"You are a helpful assistant...";
Function Calling
Add custom functions in Bot/FunctionHandler.cs:
["getBusinessHours"] = new()
{
Name = "getBusinessHours",
Description = "Get business operating hours",
Parameters = new { type = "object", properties = new { } },
Handler = GetBusinessHours
}
Rate Limits
Adjust limits in Config/BotConfig.cs:
public class LimitsConfig
{
public int MaxInputCharacters { get; set; } = 1000;
public int MaxOutputTokens { get; set; } = 1000;
public int ChatHistoryLimit { get; set; } = 20;
//...more limits
}
Adding New API Integrations
- Create a new client in the
Api/folder - Define models in
Models/ - Register in
Program.csdependency injection - Use in
ChatBotor create new services
API Endpoints
GET /- Bot information and statusPOST /webhook- Webhook for incoming WhatsApp messagesPOST /message- Send message endpointGET /sample- Send a sample messageGET /files/{id}- Temporary file downloads
Swagger Documentation
When running in development mode, visit:
Troubleshooting
Common Issues
- “No active WhatsApp numbers”
- Verify your Wassenger API key
- Check that you have a connected WhatsApp device in Wassenger
2. “WhatsApp number is not online”
- Ensure your WhatsApp device is connected and online in the Wassenger dashboard
3. Webhook not receiving messages
- Check that your webhook URL is accessible from the internet
- Verify firewall settings
- Check logs for webhook registration errors
4. OpenAI API errors
- Verify your OpenAI API key is valid
- Ensure the model name is correct
- Check your OpenAI account usage and billing
Debug Mode
Enable detailed logging by setting it in .env:
LOG_LEVEL=Debug
Or in appsettings.Development.json:
{
  "Logging": {
    "LogLevel": {
      "Default": "Debug"
    }
  }
}
Common Environment Issues
- Port already in use: Change
PORTin.env - Ngrok not found: Install ngrok or set
NGROK_PATH - .NET version: Ensure .NET 8.0 SDK is installed
Resources
- .NET Documentation
- ASP.NET Core Documentation
- Wassenger Documentation
- OpenAI API Documentation
- C# Language Reference
- GitHub Issues
Contributing
- Fork the repository
- Create a feature branch (
git checkout -b feature/amazing-feature) - Make your changes
- Add tests if applicable
- Commit your changes (
git commit -m 'Add some amazing feature') - Push to the branch (
git push origin feature/amazing-feature) - Open a Pull Request
Development Guidelines
- Follow C# coding conventions
- Use async/await for all I/O operations
- Add XML documentation for public APIs
- Include unit tests for new functionality
- Update the README for new features
Performance & Scalability
This C# implementation offers several advantages:
- High Performance: .NET 8 runtime optimizations and compiled code
- Memory Efficient: Proper disposal patterns and memory management
- Concurrent Processing: Async/await and Task-based processing
- Scalable: Built-in dependency injection and service lifetime management
- Production Ready: Comprehensive logging, error handling, and health checks
Security Features
- Input Validation: All webhook inputs are validated
- Rate Limiting: Built-in message quotas and conversation limits
- Secure Configuration: Environment-based secrets management
- Error Handling: Comprehensive exception handling without information leakage
- HTTP Security: Modern ASP.NET Core security defaults